I've already documented my previous tandem projects here before. The primary use of the tandems is for family bike rides with the kids. Two years ago I replaced my old
Bike Friday tandem with the
Experia tandem and have been happy with the results. Heather has still been using the
modified Raleigh I acquired several years ago, but it's very heavy and never has been a very good fit for her. Now that the kids are both tall enough to ride a full sized tandem, it is time to consider replacing the Raleigh. The primary challenge is getting a good fit for a tandem pilot who rides a 50 cm road bike, and with the potential to fit a stoker who is taller (our 13 year old is already taller than her mom). The M/S sized tandem by Cannondale comes close, but is still a little big. So, getting a good fit would probably require a custom frame. In order to keep costs down (the goal was to build the complete tandem for a price close a stock Cannondale tandem), I went with a titanium frame made by
Waltly in Xiamen, China.
I've been following Waltly for a few years as I've considered our options when upgrading tandems, along with
Titanproduct and
XACD. As I understand it, all three of them build OEM frames for various bike companies, and well as offering custom frames direct to consumer. All of them can be found on Alibaba or Aliexpress, along with a few others that I'm less familiar with. Just during the last few months, Waltly has re-done their web site to be by far the most professional looking I've seen, including a nice form to fill out for requesting a quote.
I initially contacted Waltly through a link on their web page and got a response the same day from Amy. Her English is pretty good, and she generally responded to my mails quickly given the 13 hour time difference. I sent her a picture of a frame with similar geometry and specified all of the key dimensions. Waltly's process is to quote a price, and then to ask for 50% of the cost to be paid up front before their engineers start making detailed drawings.
I made two key choices that dictated a number of the other details. One was the the Boost through axle standard. This means 148x12 rear and 110x15 front axles. This is an MTB standard that is relatively new, but I think makes a lot of sense for tandems, especially the wider front wheel (rear hubs wider than 148 have been used on tandems before). I did this because I want durable wheels and because I hope the standard becomes sufficiently common (for MTBs if not for tandems) that there will be many stock wheel options available in the future. The second choice I made was to try as much as possible to replicate the geometry of Heather's road bike on the front end of the tandem, but simultaneously eliminate the toe overlap that her road bike suffers from, because I think toe overlap is much more important to avoid on a tandem. Both of these choices led to the decision to have Waltly make a custom fork to go with the frame because no stock carbon tandem forks currently offer the wider spacing, and because I needed a higher than usual fork offset. My original proposal was parallel 73 degree seat and head tubes, but this was putting the front wheel far too close to the front bottom bracket. Eventually I settled on a 71 degree head tube. While this may make the handling a little more sluggish, it is frequently done on smaller frames, including Cannondale's smallest road tandem. With the slacker head tube it is possible to extend the fork offset to 55 mm while still having a reasonable amount of trail. I asked Waltly to allow for 700C tires between 32 mm and 40 mm width, with the idea that I would have the option of 32mm road tires or 40mm gravel tires. The distance between front and rear bottom brackets was determined by two considerations. First, I want the option of a Gates belt drive in the future, and second I want the spacing as far apart as possible to accommodate taller stokers, so I chose the largest spacing that will support a Gates drive.
After making my initial specifications and paying the deposit, we went through several iterations of drawings before I decided they were ready. Much of this had to do with trying to increase the distance between front bottom bracket and front axle because of the toe overlap problem. Now that I've done this I realize I could probably have used something like
Bike CAD to figure that out beforehand and get through the process much faster, but Amy was patient and responsive with my continual tweaks. The final drawings looked like this:
In addition to the frame and fork, I asked for an adjustable stoker stem. About 6 weeks after I approved the drawings, Amy sent me an email with a set of detailed photos of the finished product.
When I gave my approval based on the photos, the frame, fork and stem were shipped by DHL, and arrived in the US just 3 days later. The build quality of the frame looked great. I'm not an expert on titanium welding, but the welds on the finished frame all look very neat. As I got started on the build I discovered that Waltly had made a mistake on the stoker stem, building it for a 28.6 mm diameter seatpost rather than the 31.6 mm diameter I had specified. I sent Amy a photo, she consulted with the engineers and builders, and they agreed that they had made a mistake. They created a new stem as I had specified and sent it to me at no charge. I commend Waltly for their responsiveness in fixing their error.
Before completing the build, I added some yellow and green paint using stencils. I love the look of titanium, but wanted to add a little more color to go with the yellow and green trim I was adding to the bike. I think this is a great solution for customizing a titanium frame that's relatively easy to do and still allows the titanium color to show through. The saddles don't match the rest of the scheme as well because they happened to be preferred saddles from previous bikes.

I built the bike up using a SRAM Rival drivetrain with mechanical disc brakes so that I could add bar-top auxiliary brake levers.
I used Sugino XD cranks front and rear. We wanted a low gearing range, and don't particularly need high end gears because we don't go that fast, so I used what's currently being referred to as "subcompact" gearing: 46/30 chainrings with 11-32 cassette. This is of course not something SRAM designed their 2x11 road groups for, and I found I had some difficulty getting the front derailleur to avoid overshifting and dropping the chain to the outside. The Sugino cranks are designed as a triple, so I installed a chain guard in the position of the outer chainring, and it seems to have solved the problem for now.
The one mistake I made in my design was forgetting to specify a front derailleur mount, which was my original intention. There are many clamp-on front derailleurs available, so it wasn't a big deal, except for the fact that the location of the water bottle mounts on the rear seat tube have limited the range of movement available to me for vertical placement of the front derailleur. So far I have been able to get things working. If I were to do it again, I would want either a derailleur mount with a wide vertical range, or put the bottle cage mount in a different location.

For the captain's pedals, I happened to already have a pair of old Shimano M324 pedals. To go with the yellow color theme, I took them apart and painted the main body with the same yellow paint I used elsewhere, and did the same on the platform pedals I currently have installed on the rear. I also found some gold anodized chainrings for the timing chain. They were originally intended for BMX bikes, so they required a 1/8" timing chain.
The wheels were custom built by
ProWheelbuilder.com, using Hope Pro 4 hubs and Velocity Chukker rims. When we discovered that they offered colored spokes, we couldn't resist paying a little extra to get yellow spokes, which turned out to match the existing yellow trim very well. Currently the wheels have Kenda Happy Medium 40mm tires installed.
I included mounts for rear racks in the design. I built the bike with 203mm discs front and rear for maximum braking power. Waltly only had post mounts available for 160 mm rear rotors, so I used a 160-203 mm adapter on the rear brakes. The fork had IS mounts.
Even with the 700x40C tires, there is plenty of clearance. I tried inserting a MTB wheel in the frame with 27.5x2.1 tires and they appear to fit, so that will be an option we consider in the future for riding gravel roads.

Overall I had a great experience working with Waltly and would definitely do it again.
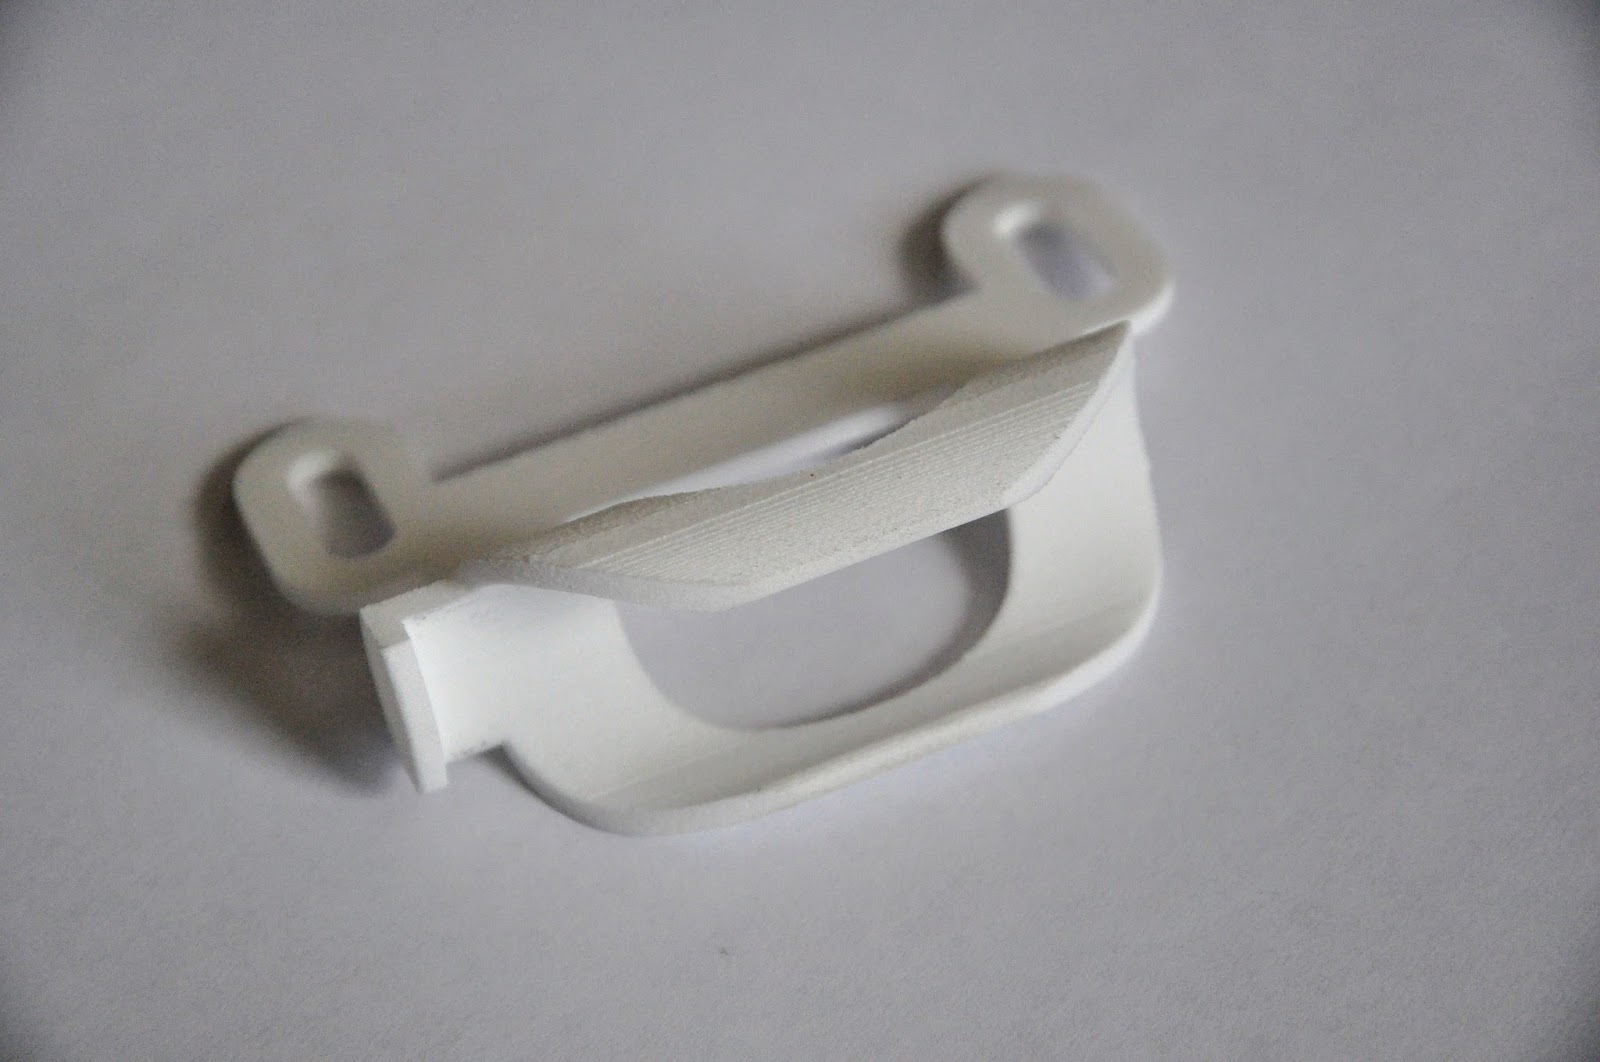
 Compared to the other places I've lived and biked extensively (Utah, Colorado, Missouri and Illinois), living in west Texas has had one unfortunate feature that the others mostly did not: unfenced dogs. I recognize that this occurs everywhere, but never with the frequency that I've experienced here. I have witnessed one situation where a dog ran into the road and took out a cyclist's front wheel, causing the rider to crash. I have witnessed multiple situations where a curious dog has run into the road because of a cyclist (usually me) and nearly into the path of a car. This has made it clear to me that the carelessness of these dog owners is posing a danger both to cyclists and also to the dogs themselves. I was initially reluctant to use pepper spray on dogs, but I've now concluded that this is the best solution for everyone. It's also clear to me that dogs learn quickly, as there is one particular dog that I see regularly and have sprayed once, who now stays put when I ride by.