Thursday, October 18, 2012

Bike Friday Family Tandem

After buying a tandem trailer, we used that in conjunction with the child trailer for one summer, with each parent pulling one of the trailers. At the time our children were 5 and 2. As our son turned 3, he started to be jealous watching his sister pedal, so we occasionally let them switch places. He couldn't really turn the pedals on the trailer bike all the way around, but he seemed to enjoy it anyway. However, it became clear that soon enough neither of our kids would fit in the trailer very well and that we needed a long term solution. We could have probably got another tandem trailer eventually, but at some point I started doing research on tandems. Sheldon Brown wrote a great article about tandems and kids. There were two primary features I was looking for in a tandem:
  • The rear seat had to go low enough for a 5 year old.
  • It had to be easily transportable.
In retrospect, the transportable aspect has been less of an issue than I expected because most of the family bike rides we do are from home anyway. My research has turned up a number of very interesting options:
  • Bike Friday. A maker of folding and travel bikes that has several tandem models.
  • Brown Cycles. I particularly like the "child in front" bikes they make, a feature I'm sure my kids would want if they knew it existed.
  • Co-Motion's PeriScope line. In particular, the PeriScope Trident Convertible is something I wish I had sometimes, but it's a serious investment. 
  • Circe Helios. It looks like a great bike, but they are in the UK, so getting one in the US would probably require expensive shipping.
  • Build your own. If I had the welding equipment and expertise, I would totally build one of these.

Of all these options, Bike Friday's tandems end up being one of the least expensive, starting at $1500. That's still a lot, so I started looking at used ones. Having watched several Bike Friday tandems auctioned on eBay, I have concluded that any opportunity to buy one of these for under $1000 is a good deal. I ended up paying somewhere between $1200 and $1300 for a bike that originally retailed for around $1800, but shipping costs brought it close to $1500.


This is what the bike looked like I first got it in 2010. The long stem on the rear handlebar was originally on the front, but I needed it in the back to get the handlebars closer to the rear seat. The rear seat is in its lowest possible position in this picture, which is low enough to fit an average 4-year-old, with one exception: the crank length. This bike has standard 170 mm cranks, while the typical lengths on children's bikes are 135 mm for 16 inch bikes and 145 mm for 20 inch bikes. We tried one short ride and it became clear that the adult length cranks were not going to work. There are two solutions out there. One is the "KidBack", which is essentially an additional bottom bracket and cranks that attach on the seat tube. It's designed more for full size tandems, though so the second (and less expensive but still pricey at $90) option was what I did: the Ride2 crank shortener. This device attaches to the crankarms through the pedal threads, and provides 4 alternate mounting locations. From my fairly inexact measurements, they subtract 25, 35, 45, and 55 mm of crank length, giving lengths from 115 to 145 mm on this 175 mm crank. The downside of crank shorteners like this is they increase the space between the pedals (sometimes referred to as Q-factorby an inch or so, which might make it harder for small legs to pedal.


My bike came with SRAM's DualDrive system, which pairs an internally geared 3-speed hub with a 7-speed derailleur (newer models are 8 speed, but my bike is over 10 years old). For tandems, this makes it possible to put the drive chain and timing chain on the same side of the bike.


This gearing system actually makes it possible to use a less expensive solution for short cranks, which I hadn't considered at the time I bought the crank shorteners. BMX products maker Sinz makes a crankset for square taper bottom brackets that comes in a huge range of sizes from 125 to 180 mm. They retail for around $60, but I've sometimes seen them available for less. They have a 110 mm bolt circle diameter, which fits a large range of road chainrings these days, including the ones on this bike, and they allow for the installation of two chainrings. I've read that the spacing of the chainrings on Sinz cranks will put them too far apart to work properly with front derailleurs, but this is not a problem for the DualDrive system.

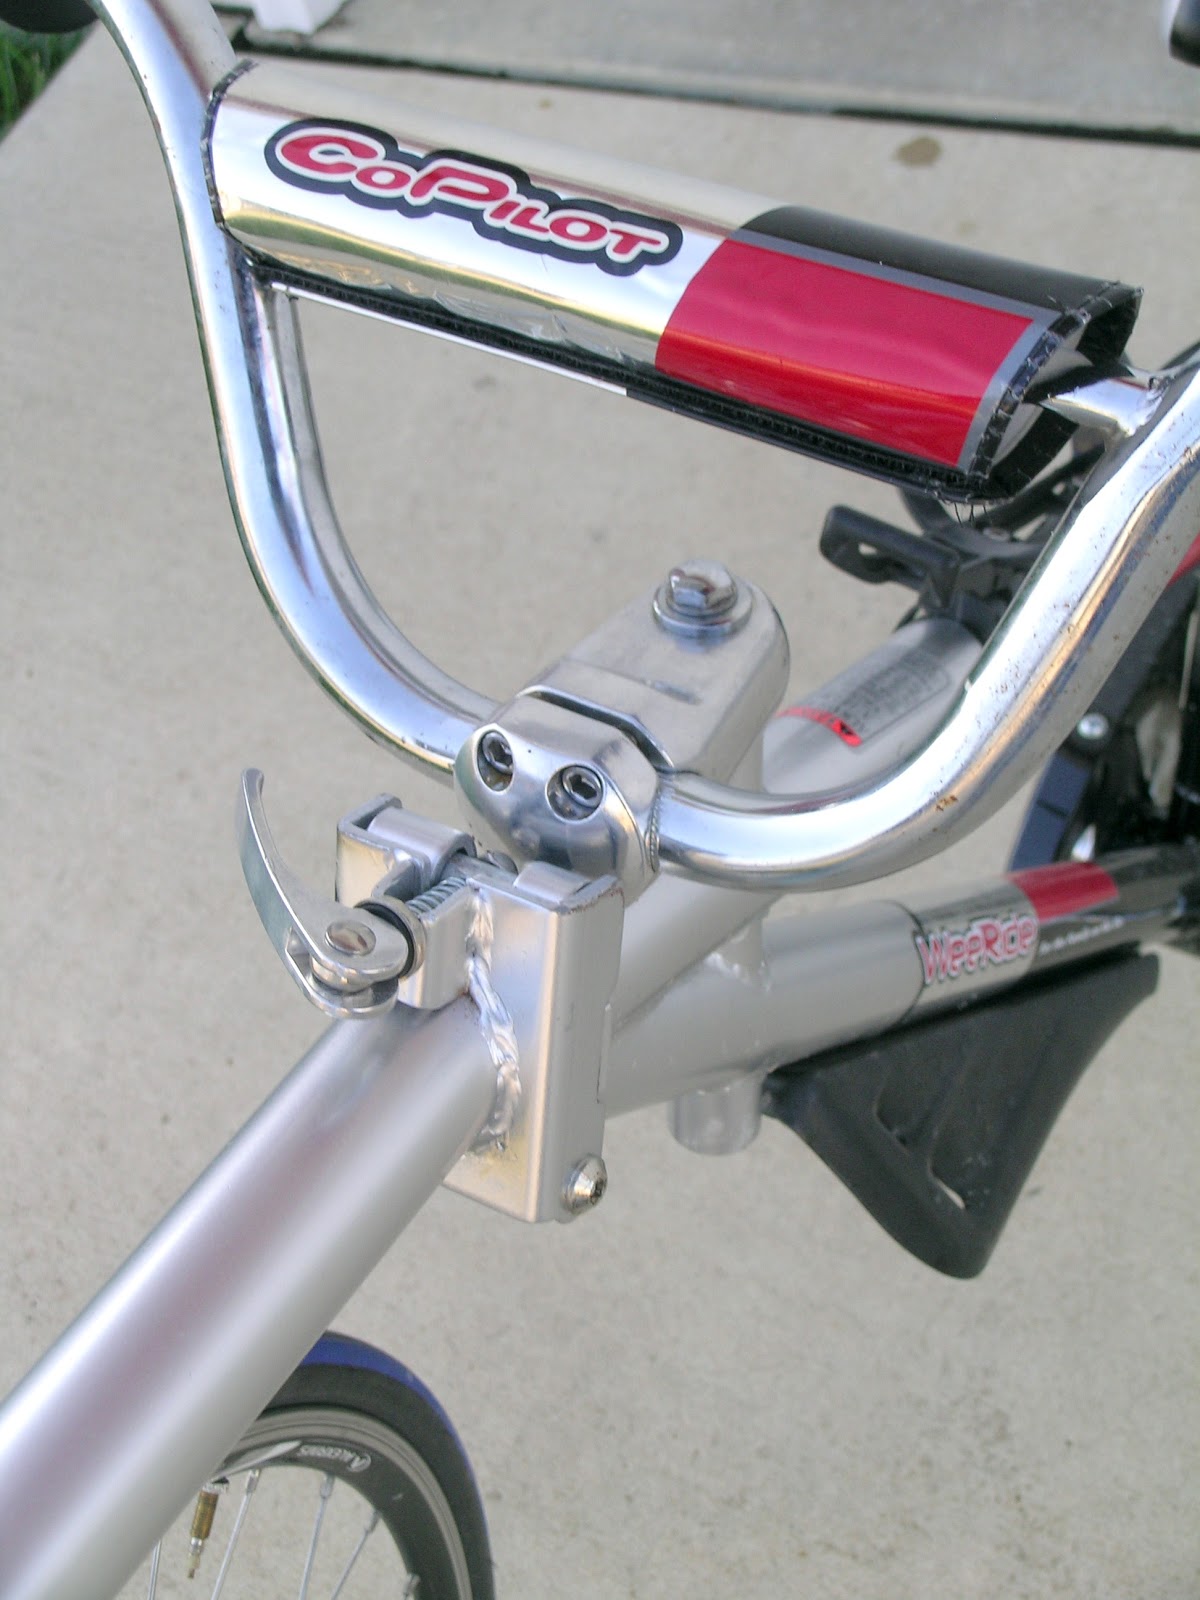
Had I bought the bike directly from Bike Friday, they would have customized the size to fit me exactly. By buying used, I had to figure out how to make it fit. One problem that became clear after a couple of rides that the handlebars were too low and too close. I found this stem which seems to fit me well, and is adjustable, making it fairly easy to modify the setup to suit another rider.


At one point I decided to get a pump and a traingle cargo pack for tools for this bike. As it turns out, neither fit without modifications. The Park frame pump, which is adjustable to a wide range of frame sizes, was a quarter inch tool long at its shortest setting for the pump peg on this frame (I hope newer versions of this bike have fixed that). I eventually was able to modify the pump to fit. Likewise, the triangle pack was a little too tall for the frame, so it took some modification on a sewing machine to take the lowest 1 inch off.


Below is the bike in its current setup. Note that my kids have got taller in the last 2 years, so the rear seat is higher. I have moved the rear water bottle cage to the handlebar. My kids found it was a long reach down to the top tube of the frame, especially with the horizontal orientation of the bottle. I've also added the luggage rack and bar ends. Even for a 10 mile ride (most of our rides with the kids are in the 10-20 mile range), I need to be able to change hand positions. I may eventually try to install a drop handlebar, which is what I would have got if I had ordered a new one of these custom.


As noted in my last entry about the tandem trailer, I think I should have bought one of these earlier and never bothered with the tandem trailer. This is a much more significant investment, so it's not for everyone, but if you want to do bike rides as a family, I think the Bike Friday tandems are an ideal solution for kids who aren't yet big enough to keep up on long rides. This is also a good option for larger families because you could theoretically pull a child trailer behind one of these (up to 3 children per parent!). I do have a friend who has pulled a child trailer behind a tandem trailer, but I've been soured on tandem trailers enough that I don't think I'd recommend that to anyone.

Sunday, October 14, 2012

WeeRide Co-Pilot Bike Trailer: don't waste your money!

We did family bike rides with both kids in the trailer until our oldest was about 5, at which point she was simply getting too tall to fit inside (she's taller than average). At that point, we knew it was time for her to graduate to something else, so we looked at our options in "tandem trailers", i.e. trailers where the child pedals. One of the most well known products for taking a child along on a ride is the Adams Trail-a-Bike. They seem to have a good reputation, but they are also one of the more expensive options (suggested retail is over $200, but it looks like Amazon has it for $160).

At the time, we decided it was important to be able to fit it into the trunk of our car. Most newer tandem trailers have some kind of folding feature which makes this possible, but I passed on a chance to by an older Trail-a-Bike because it lacked this feature. In the end, we chose the WeeRide Co-Pilot, which typically sells for less than half the price of the Trail-a-Bike.


Here is a closeup of the hinge in the middle that allows it to be folded over for transportation.


The rear 90% of the bike is solidly built and I have no complaints about it, especially for the price. The part that has turned out to be huge problem is the front part. Here is a closeup.


The hitch mechanism attaches to the seat post of the adult bike. It's not a particularly elegant design, but it works. Behind the hitch are two joints, designed to allow the trailer to move both horizontally and vertically with respect to the bike. The first problem with the joints is that the weld connecting them to the rest of the trailer is not straight. When the hitch is held perfectly level, the trailer bike leans a couple of degrees to one side.


This is not a one-time anomaly. While this trailer has generally received positive reviews on Amazon, there are a number of 1-star reviewers (full disclosure: I am one of them) who have described this same problem. I don't know how common this is, but there are clearly some quality control problems.

The second problem with the joints is that the bushings get looser over time. After 4 summers of regular 10-20 mile bike rides, there is now enough play in the joints that the trailer can flop back and forth several degrees. This is particularly challenging for the adult rider trying to keep the whole rig upright. A few weeks ago this finally resulted in a crash, and we have decided that it's time to retire the Co-Pilot and find a better solution for family cycling. WeeRide's web site says they now have a new hitch design, so it's possible they are aware of this problem.

The lesson learned from all of this was that if you want to buy a tandem trailer, you really need to spend the money on one of the more expensive models. A year after buying the Co-Pilot, I acquired a true tandem, and we have been using both for the last two years. After using both, I've concluded that the only real advantage of a tandem trailer is cost, and that anyone serious enough about riding to make the investment in a tandem is better off skipping the tandem trailer entirely and going straight from a trailer to the back of a tandem. The advantages of this are:

  • Better handling and balancing characteristics than a standard bike pulling a tandem trailer.
  • The child can actually help pedal no matter what gear you're in. Above a certain speed, a child on a one-speed tandem trailer can't pedal fast enough to actually contribute, so they end up just coasting and (in my experience) goofing off in ways that can make it a challenge to keep the bike upright.
  • A tandem can grow with the child past the age where they might be too big for the trailer.

Friday, October 12, 2012

Schwinn bike trailer

My last post was on a bike project, and now I've acquired yet another bike, this time a tandem for the purpose of cycling with my kids. There are other blogs out there where people have documented their experiences cycling with their children, and I've found them quite helpful. So, before I put up pictures of the new bike, I've decided to start from the beginning documenting my experience cycling with kids, the equipment we've used, what has worked and what hasn't, in case it's of interest to anyone out there.

The first piece of gear we got was your basic 2-child trailer. This would have been in 2005 when our oldest daughter was 1. This is a Schwinn, bought at a local big box store for around $160, if I recall correctly. This picture shows it with its "stroller" handle attached. We never used it that way, but I'm sure would do the job well.


There were (and still are) other options made by manufacturers who specialize in bike trailers (like Burley), but they cost considerably more. There are also cheaper options. After pulling this for hundreds of miles, many of those miles with friends pulling a smaller and cheaper trailer, I'm glad I spent the money on this one, and don't feel like I needed a more expensive one. The large wheels (16 inch) roll more easily than the 12 inch (or smaller) wheels common on many other trailers, and they use standard quick-release levers to attach, which makes it easy to break it down to go in the trunk of a car. This trailer also has a fair amount of storage space behind the seat, which we put to good use more than once on some longer trips.

The trailer after being folded for transport or storage.

The trailer hitch that goes on the bike looks like this (picture borrowed from Amazon without permission):

We bought an extra one so both parents' bikes so the trailer could be switched between us easily. The small hole in the hitch attaches to the rear axle of the bike. It adds probably 2-3 mm of additional stuff that have to fit inside the nut or quick release skewer. One of our bikes required a longer quick release skewer in order to make it fit, but I happened to have an old one. The other bike (a Giant OCR3 from about 2005 or so) has a rear dropout that looks like this:


It might be hard to see in this picture, but the recessed area around the end of the quick release skewer is nearly 1/2 inch deep, and not wide enough for the top of the trailer hitch to fit. As I see it, there are basically two possible solutions to this. The first is to get a really long skewer and some kind of spacer to get the trailer hitch outside of the recessed area. I did some research on skewer lengths, and it appears that there might be some out there designed for tandems that might work, but they are hard to find and expensive. The second option is to find a way to attach the hitch to the frame, which is what I opted for. I don't have a picture of it, because it's been disassembled now that we're not actively using the trailer any more, but basically I used electrical conduit clamps to bolt a plastic plate to the rear triangle of the frame, and bolted the hitch to the plate. It was ugly, but it did the job.

I don't have experience pulling other trailers, so it's hard to say how pulling this trailer compares to anything else. The one thing that took some getting used to was that it really forces you to pedal smoothly. There's enough flex in the hitch mechanism and the long bar that attaches to the bike from the side of the trailer that any hard acceleration feels like pulling on a bungee cord and wastes energy. This is probably the case for most trailers that mount on one side (as opposed to some cargo trailers which attach to both sides of the rear axle of the bike).

I never required my children to wear helmets in this trailer, in part because we just hadn't bought them yet at the time. I can say from experience that these trailers are extremely stable, and would be difficult to knock over (I have crashed once while pulling this trailer and it remained upright). This is a fairly roomy trailer, and it worked well for our kids up to the age of about 4. By the time our oldest was 5, it was getting clear that she just didn't fit, so we took the next step and bought a trailer bike, which will be my next blog entry.